Getting Started with WOLF ONE
Get your WOLF ONE system up and running in minutes with this setup guide.
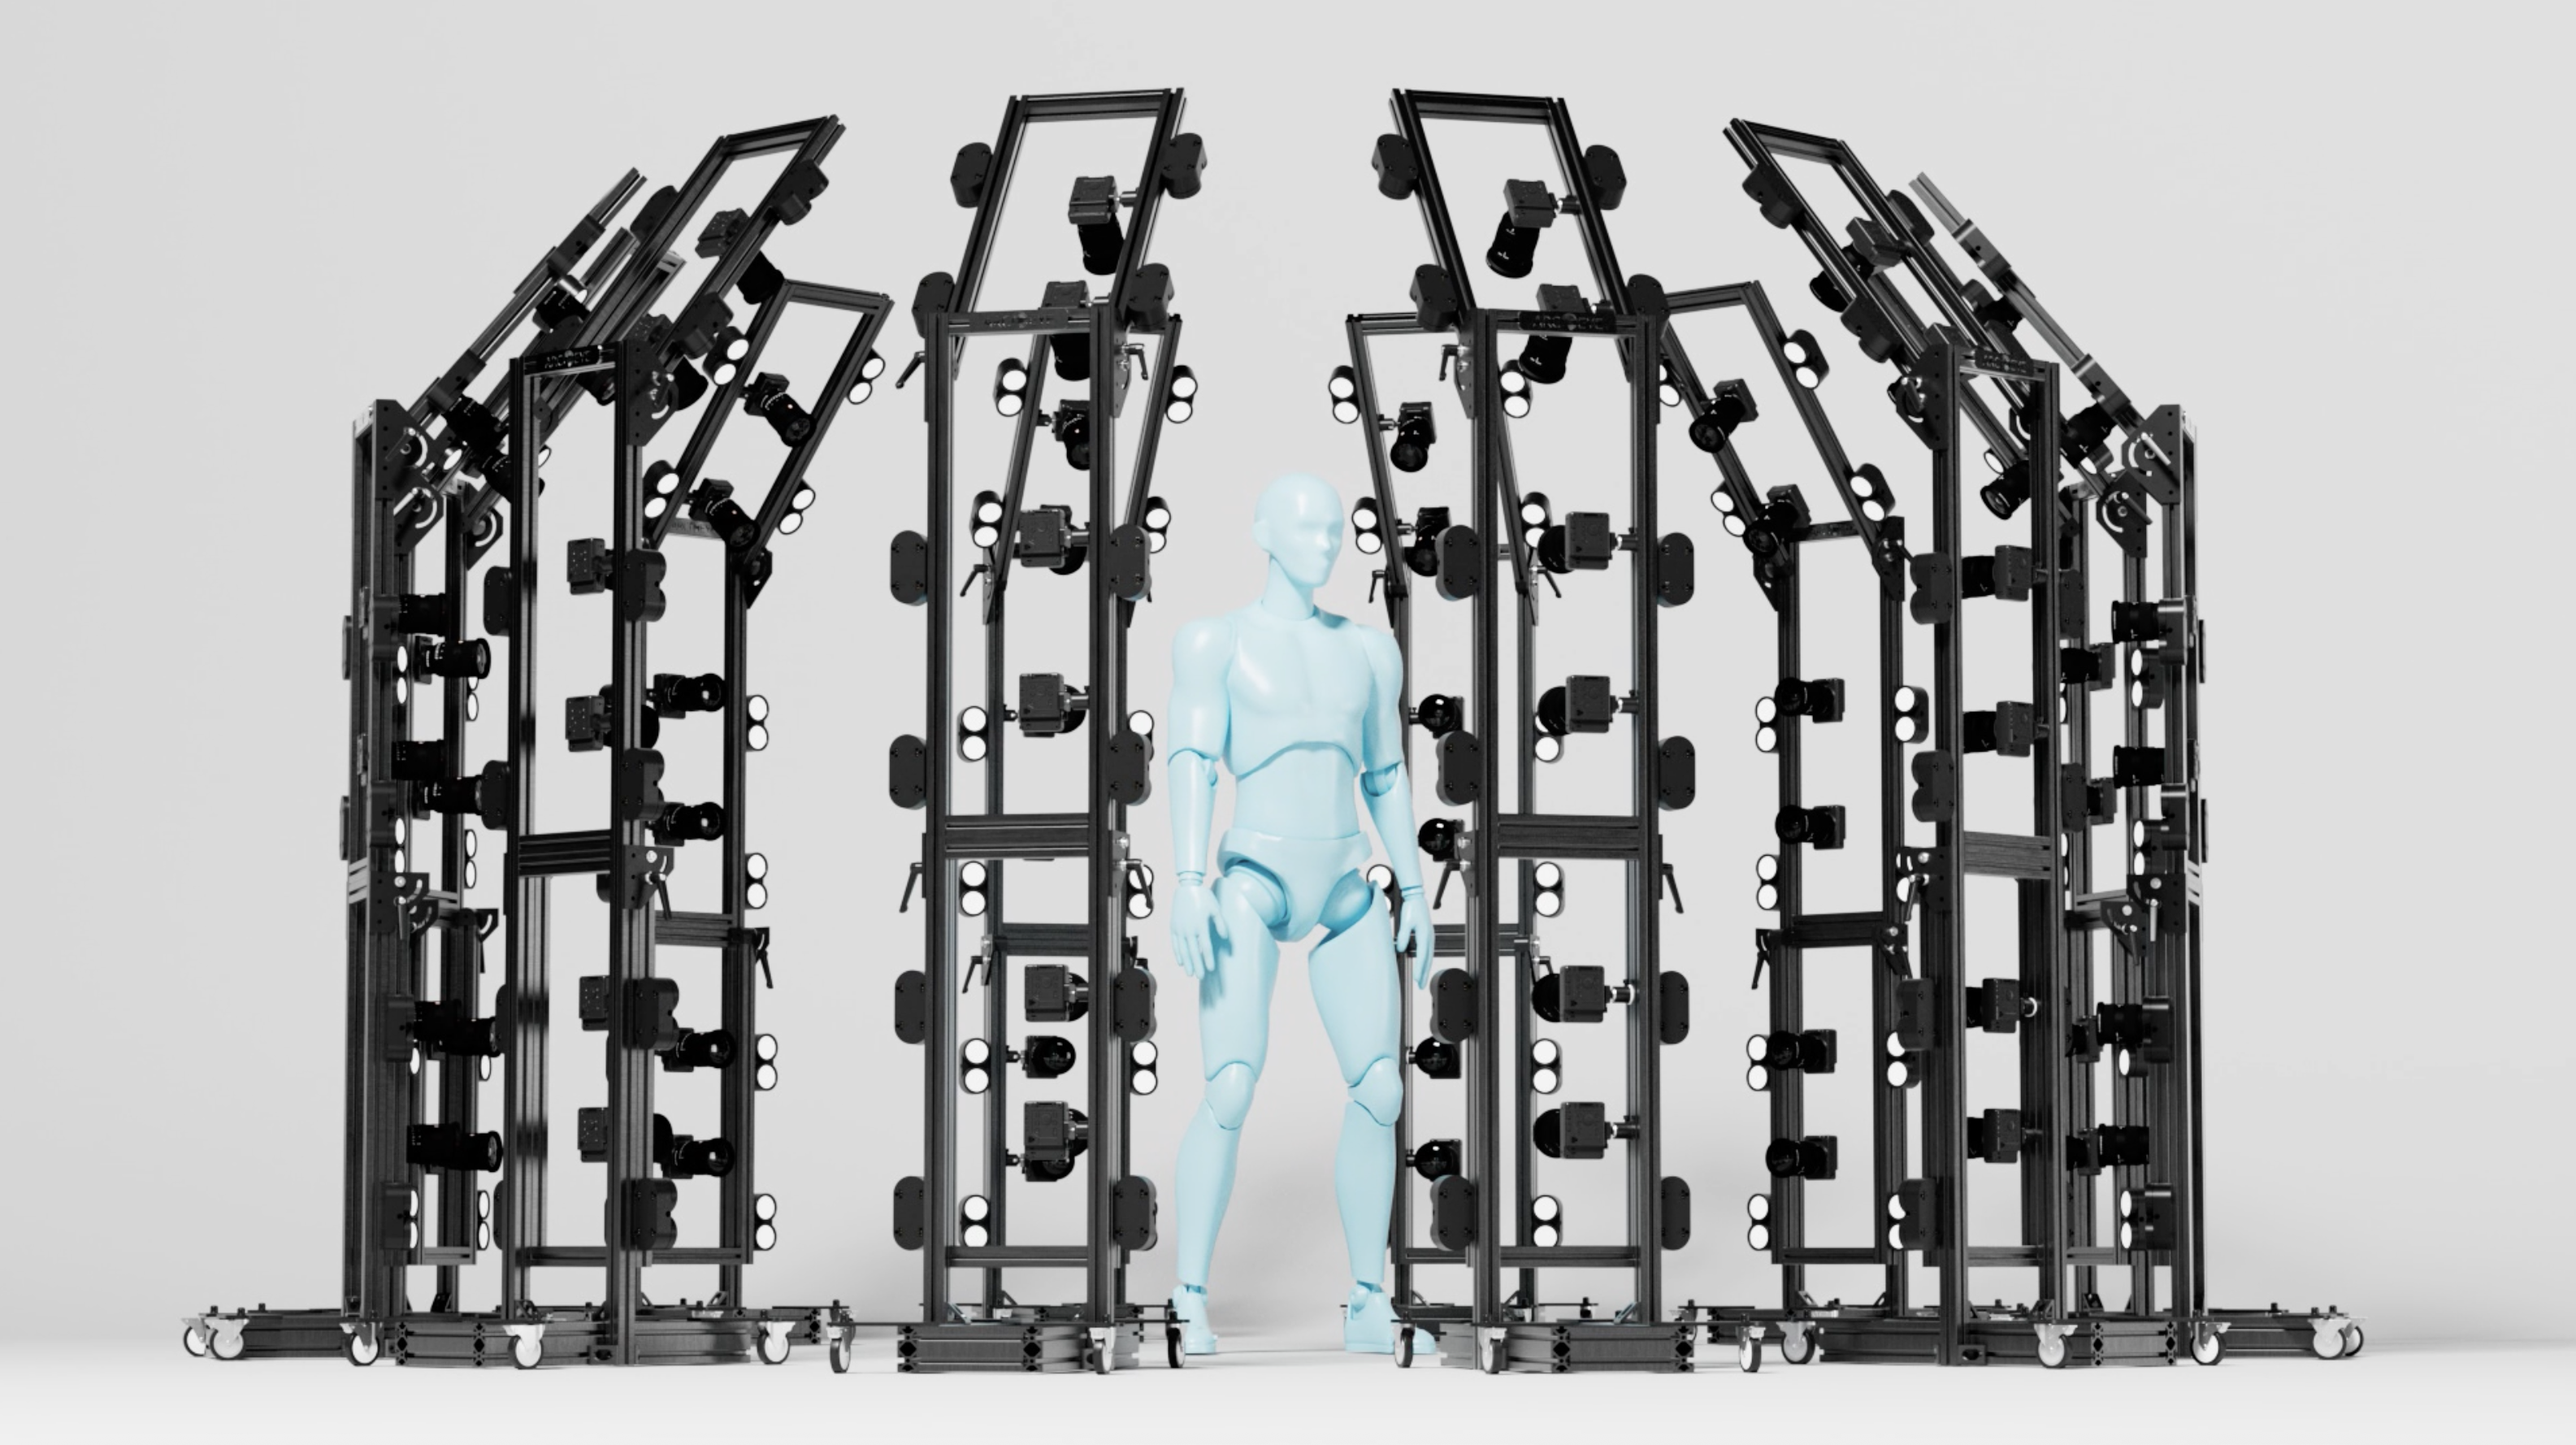
Once you understand the basics of a single WOLF node, adding more nodes simply makes more input/output ports available to you. All of the underlying principals are the same.
Single WOLF Setup (3 Steps)
Multi-node Setup (5 Steps)
For systems with multiple nodes:
┌──────────┐
│ COMPUTER │
└────┬─────┘
     │ USB Type-C
     ▼
┌─────────────┐  HowlNET   ┌─────────────┐  HowlNET   ┌─────────────┐
│  WOLF 1     │───────────▶│  WOLF 2     │───────────▶│  WOLF 3     │───────────▶
│  (Director) │  OUT → IN  │  (Listener) │  OUT → IN  │  (Listener) │
└─────────────┘            └─────────────┘            └─────────────┘
     ▲
     │ 24V DC
     |
┌──────────┐
│ Power    │
│ Adapter  │
└──────────┘
-
Daisy-Chain nodes
- Connect HowlNET OUT of first node to HowlNET IN of next node
- Repeat for additional nodes
- Use Arc Eye Bus Network cables
-
Connect Power
- Connect 24V adapter to first node only
- Power flows through HowlNET to all nodes
-
Connect Cameras
- Plug cameras into any camera port
-
Verify Network
- Connect a USB Type-C cable to the Director WOLF (first node) and use Leash App to see all connected nodes
- Camera port LEDs show port status and calibration mode
-
Trigger
- Using Trigger hardware buttons: Press and hold the Wake button, then click the Trigger button (simultaneously)
- Using Leash App: Click WAKE (toggles ON), then click TRIGGER
- Cameras capture photo
HowlNET is an Arc Eye Bus network standard that connects multiple WOLF ONE nodes. It carries power, event data, and synchronization signals through a single cable. The first node becomes the "Director" and all connected nodes become "Listeners" that execute commands in sync.
Always connect OUT → IN when daisy-chaining. The first node in the chain is the Director.
Trigger Methods
Once cameras are connected, you have several options to trigger:
1. Box Buttons (Built-in)
Location: topside of every WOLF node
- Wake Button - Activates camera auto-focus
- Trigger Button - executes effect (trigger cameras)
2. TRS Input Port (External Trigger)
Location: Pink 3.5mm TRS port on back panel
- Connect external trigger device (Arc Eye handheld controller, foot pedal, wired remote, etc.)
- LED turns green when a device is connected
- Ring Button - Activates camera auto-focus
- Tip Button - executes effect (trigger cameras)
3. Arc Eye Leash App (Computer Control)
Setup:
- Connect USB Type-C from computer to node
- Open Arc Eye Leash desktop app
- WOLF auto-connects (check device dropdown if not)
Features:
- WAKE and TRIGGER buttons in top bar
- Individual W and T buttons per camera/mono port
- Real-time status monitoring
- Advanced calibration and effects
Learn more: Leash App Guide
By default, buttons act as "pass-through" - if you press Trigger for 1 second, cameras receive 1 second trigger signal. This is perfect for testing camera response.
WOLF ONE Features
Port Overview
WOLF ONE has the ports you need for multi-camera sync:
- Front: 6 camera ports
- Back: HowlNET connections, 2 mono ports (for strobes), external trigger input, USB Type-C, Bus Power
For complete port specifications, pinouts, and wiring diagrams:
- Port Reference - Detailed technical specifications
- Wiring Diagrams - Connection examples
- Hardware Overview - Full hardware capabilities
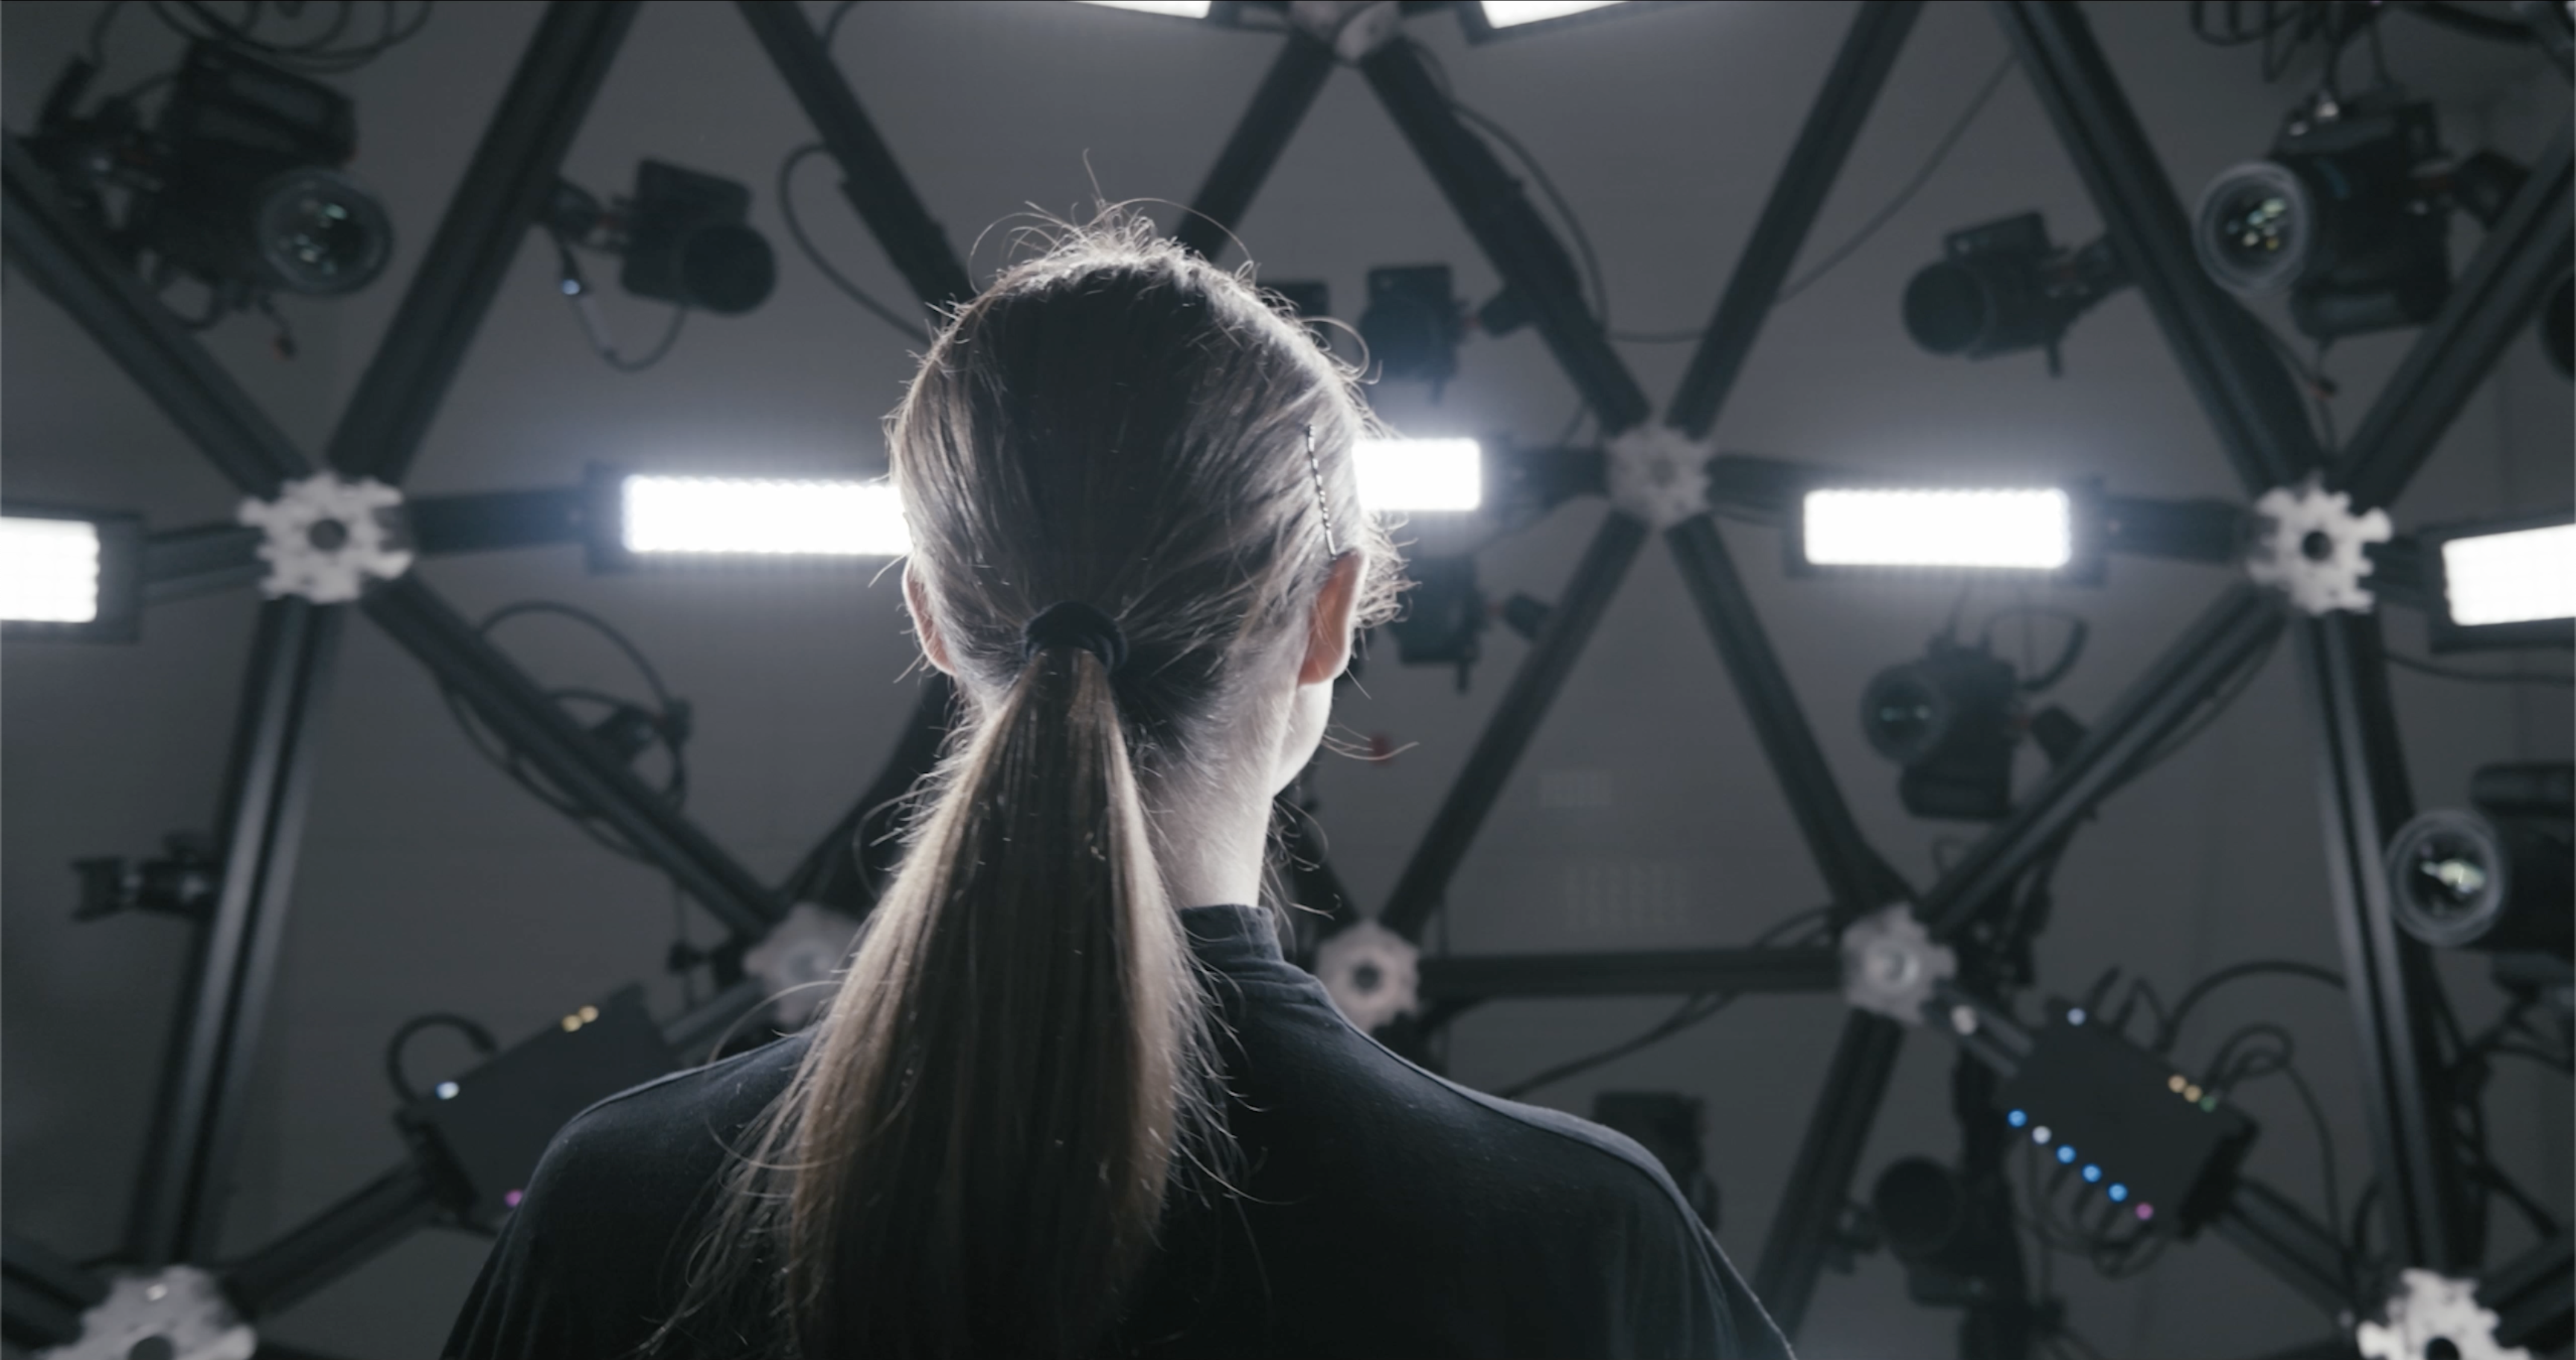
LED Status Indicators
Each port has an LED showing its status:
Camera Ports:
- On - Output active (color = calibration group)
- Off - Output disabled (or triggered during active effect)
Mono Ports:
- On - Output active (color = calibration group)
- Off - Output disabled (or triggered during active effect)
TRS Input:
- Green - Connected and ready
Common Use Cases
- Bullet-time - Sequential camera firing for time-slice effects
- 3D Photogrammetry - Synchronized multi-camera capture
- 360° Photography - Circular camera array synchronization
- Light Painting - Coordinated camera and strobe timing
- Sports Photography - Multiple angles captured simultaneously
- VFX Plate Capture - Perfectly synced camera arrays

Troubleshooting Quick Help
Something not working? Here are the most common first-time setup issues:
| Problem | Quick Fix |
|---|---|
| Camera won't trigger | Press Wake + Trigger together, check cable connection |
| WOLF not detected in Leash | Try different USB cable/port. Check device dropdown in Leash App. |
| Multi-node chain incomplete | Verify HowlNET cables (OUT → IN), check 24V power to first node |
| LEDs off | Check power connection, ensure 24V adapter has enough capacity |
Next Step
Having issues? See Troubleshooting